
用 GitHub Actions + Netlify 搭建一个 CDN,和 CDNJS 自动同步。
0. 前言
最初是因为 giscus 评论的字体和博客的字体相同,但要加载两次,太慢了,就想到可以引用同一个字体文件,其中一个加载,另一个就可以用缓存,但是总会 CORS 出错,于是就单独建了一个 CDN。
然而这个 CDN 其实是存库文件的。
如果不想存库文件可以把
.github/workflows和lib删掉,但netlify.toml要保留。这里是我的 CDN,部署在
static-argvchs.netlify.app。
1. 创建仓库
在 GitHub 创建一个仓库,存储你的 CDN。
2. 创建文件
创建一个文件夹作为 CDN 项目目录,在目录中创建一个文件 .github/workflows/sync.yml。
name: sync
on:
    schedule:
        - cron: "0 0 * * *"
    workflow_dispatch:
jobs:
    sync:
        runs-on: ubuntu-latest
        steps:
            - name: clone
              run: |
                  git clone https://github.com/cdnjs/cdnjs.git --depth=1 --filter=blob:none --no-checkout
                  git clone https://${{ secrets.TOKEN }}@github.com/${{ github.repository }}.git static --depth=1 --filter=blob:none --no-checkout
            - name: checkout
              run: |
                  cd cdnjs
                  git sparse-checkout init --cone
                  for i in ${{ vars.LIBS }}; do
                      git sparse-checkout add ajax/libs/$i
                  done
                  git checkout
                  cd ../static
                  git sparse-checkout init --cone
                  git sparse-checkout set libs
                  git checkout
            - name: sync
              run: |
                  rm -rf static/libs
                  cp -r cdnjs/ajax/libs static/libs
            - name: commit
              run: |
                  cd static
                  git config --global user.name github-actions[bot]
                  git config --global user.email github-actions[bot]@users.noreply.github.com
                  git add .
                  git commit --allow-empty -m "sync"
            - name: push
              run: |
                  cd static
                  git push https://${{ secrets.TOKEN }}@github.com/${{ github.repository }}.git
这个是一天同步一次,如果想调整可以修改上面的 cron 参数。
格式见: on.schedule。
不建议同步过于频繁,因为使用有时间限制。
然后创建一个文件 netlify.toml,用来设置 CORS。
[[headers]]
    for = "/*"
        [headers.values]
        Access-Control-Allow-Origin = "*"
3. 上传 GitHub
运行命令:
git init
git add .
git commit -m "first commit"
git branch -M master
git remote add origin https://github.com/<user>/<repo>.git
git push -u origin master
4. 生成 Access token
在这里生成新的 Access token。
Note 随便填,例如 cdn;
Expiration 选 No expiration;
Select Scopes 勾选 repo,下面的会自动勾选;
然后 Generate token 就可以了。
生成后会有一个复制按钮,存下来一会要用到。
5. 设置环境变量
在仓库的 Settings/Security/Secrets and variables/Actions 里面。
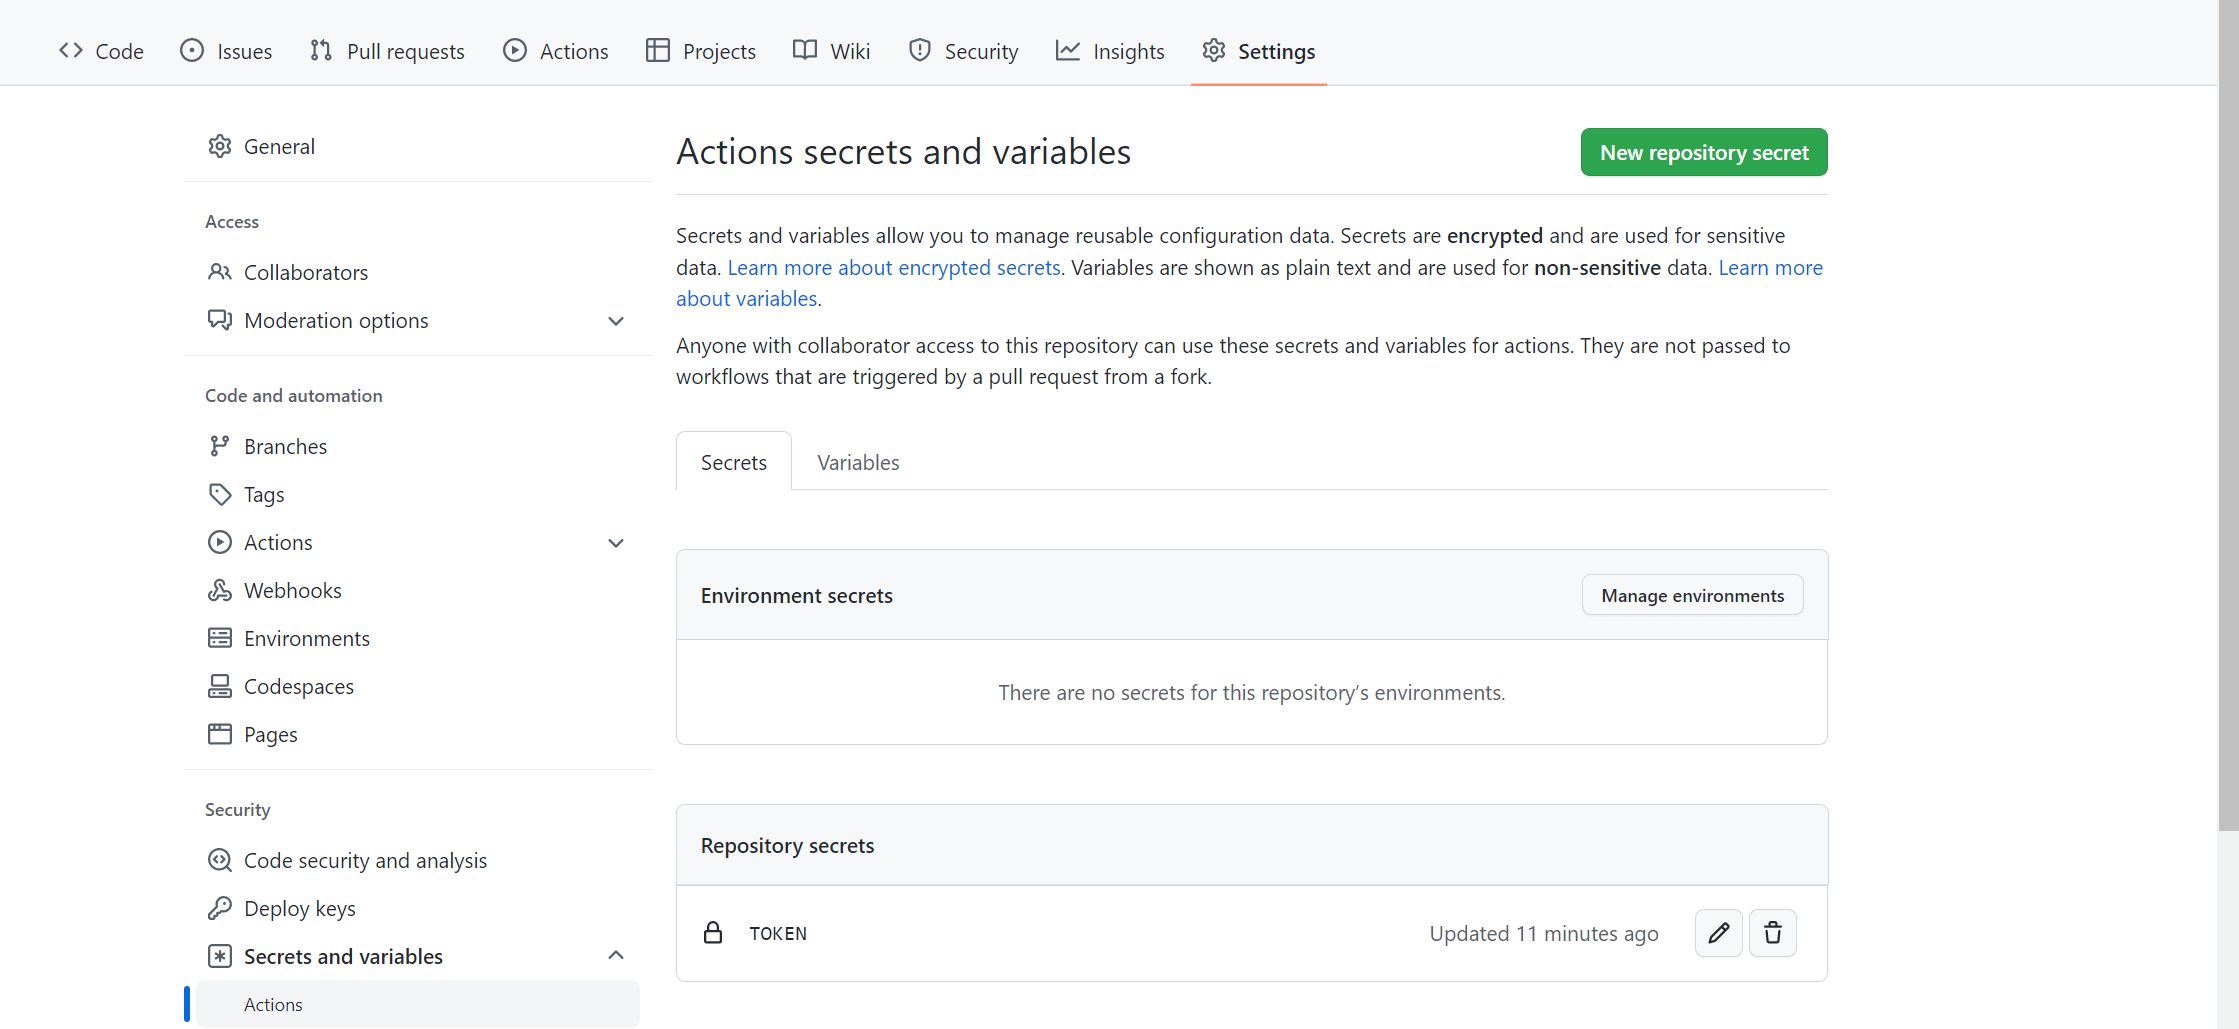
New repository secret 创建 TOKEN,值为刚才生成的 Access token。
然后切换到 Variables,点击 New repository。
New repository variable 创建 LIBS,值为你想要添加的库文件,用空格分割,不能用换行分割。
然后就可以自动同步了!
如果想手动进行同步,可以这样,Run workflow 即可。

6. 部署到 Netlify
在 Netlify 导入 CDN 仓库,部署并修改域名即可。
在 CDNJS 上搜索的库的链接,把 cdnjs.cloudflare.com/ajax 替换为 <domain>.netlify.app,即可访问。